Archery Shooting Line and Range Safety
A guide to setting up and using the Shooting Line
The Rope Shooting Line and safety procedures must be in place and used at every shooting session
The Requirement and Solution
It is obvious but also a requirement under the Archery GB Rules of shooting that we have a shooting line.
The inconsistencies of where and how to place this line have been worked through and a workable solution found. Our range from the shooting line is capable of a 100-yard shoot with an overshoot area of 75 yards.
A rope line has been assembled that solves the issues of where our shooting line is positioned and the following is a guide on how to use and install that line.
Range Safety
Below is a guide to setting up the shooting line, the starting point for overall range safety.
- Store equipment bags, etc, behind the waiting line.
- Proceed to the line when you hear one whistle.
- Return to the waiting line once you have shot your arrows.
- When you hear three whistles, it is safe to collect your arrows and return to the waiting line.
- When shooting rounds at different distances, always move the boss, never the shooting line.
The Setup Guide
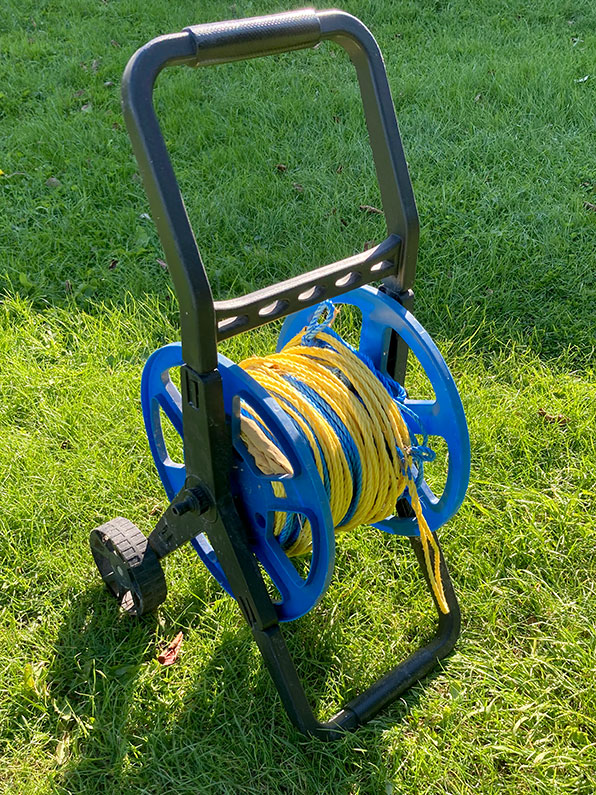
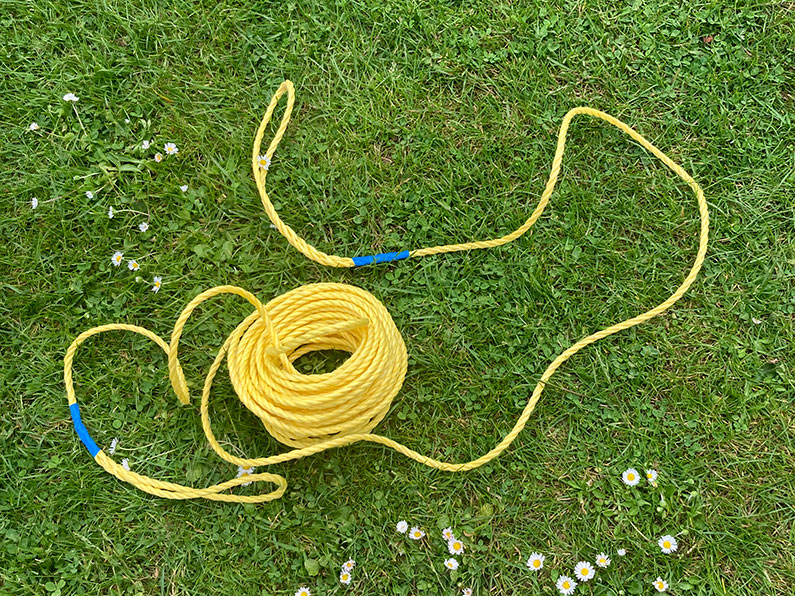
The Shooting line is on a wind out reel it consists of three sections.
The two Yellow sections are the safety zones and the blue section the shooting lanes.
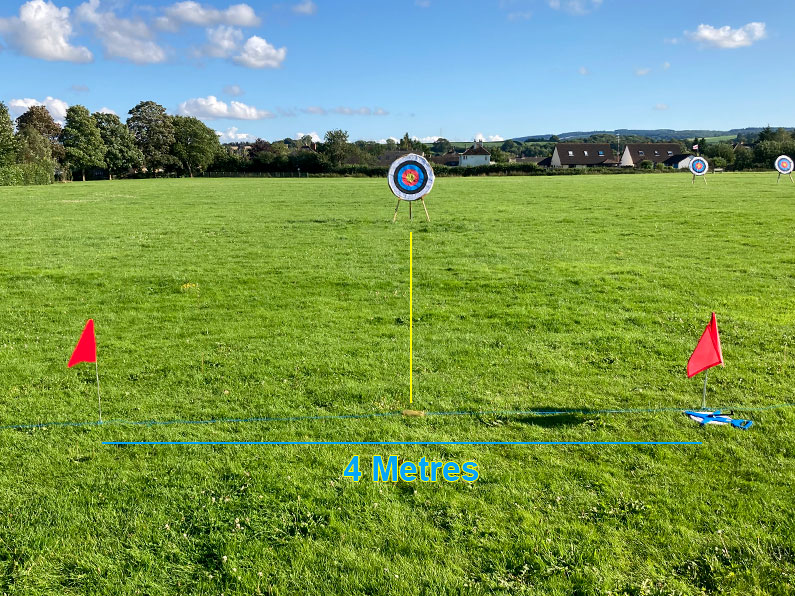
The safety zones are 25 yards wide and a shooting line of 14 lanes of 4 yards.
Equipment Checklist
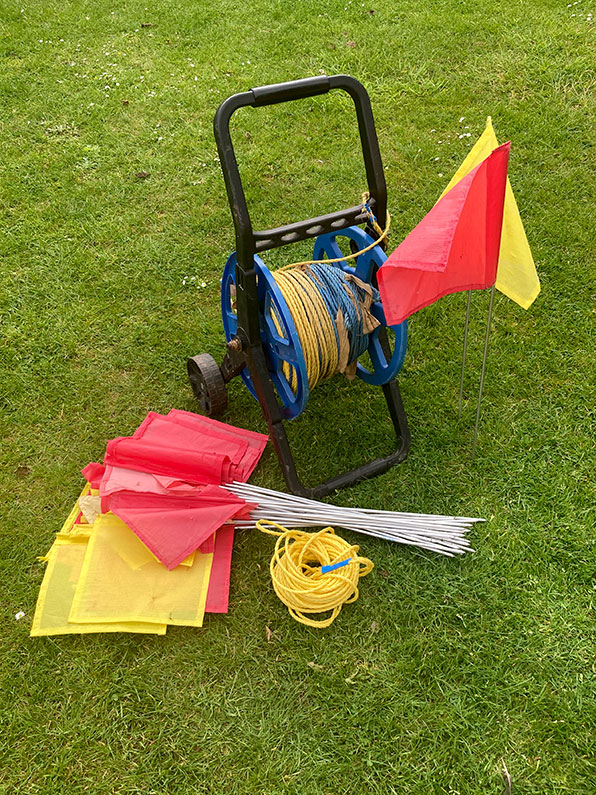
- Winder with Blue and Yellow Rope Line
- Yellow Safety Line
- Red Flags
- Yellow Flags
Step One – Place Reel
On the wall of the Performing Arts building, are three domed lights. The shooting line reel is positioned on the grass under the middle of the three wall lights.
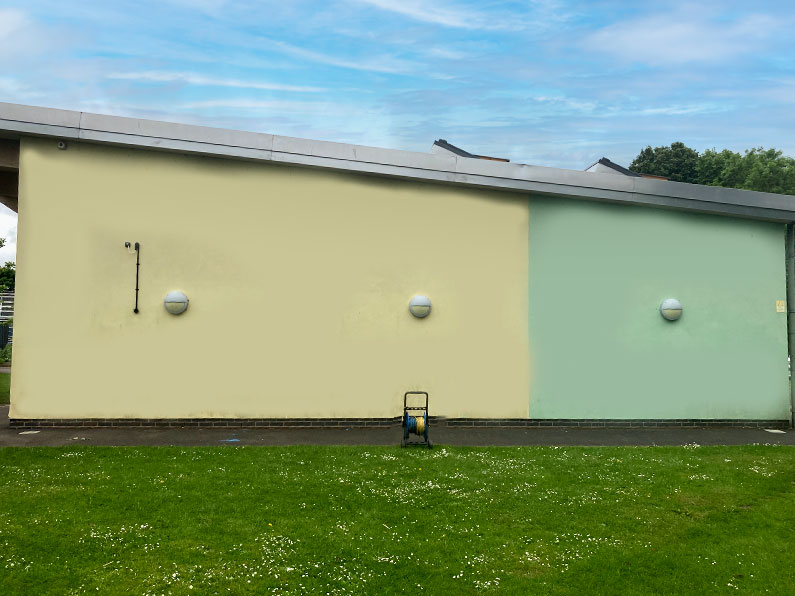
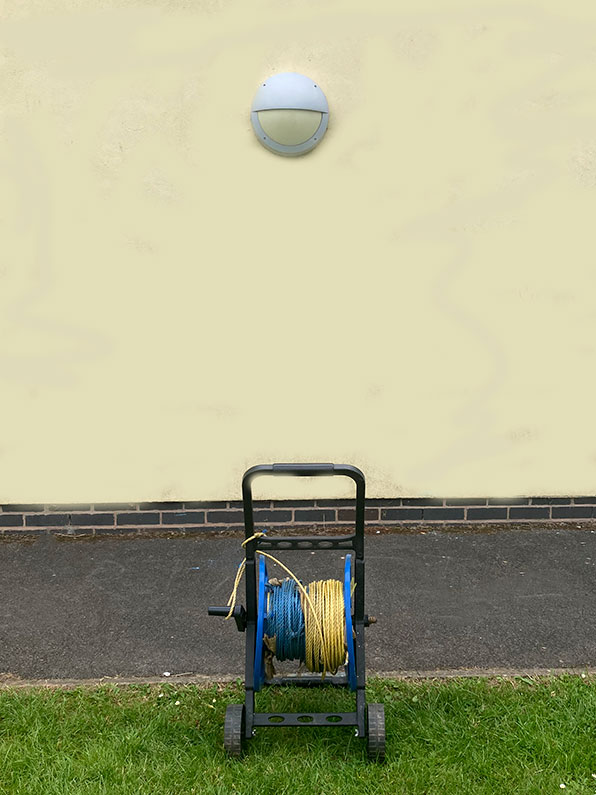
Step Two – Locate Far Post
The rope on the reel is then extended to the far hedge where there is a post and the line hooked over this.
Ensure the line is straight and in line with the starting position under the middle light on the Performing Arts Building.

Step Three – Safety Zones
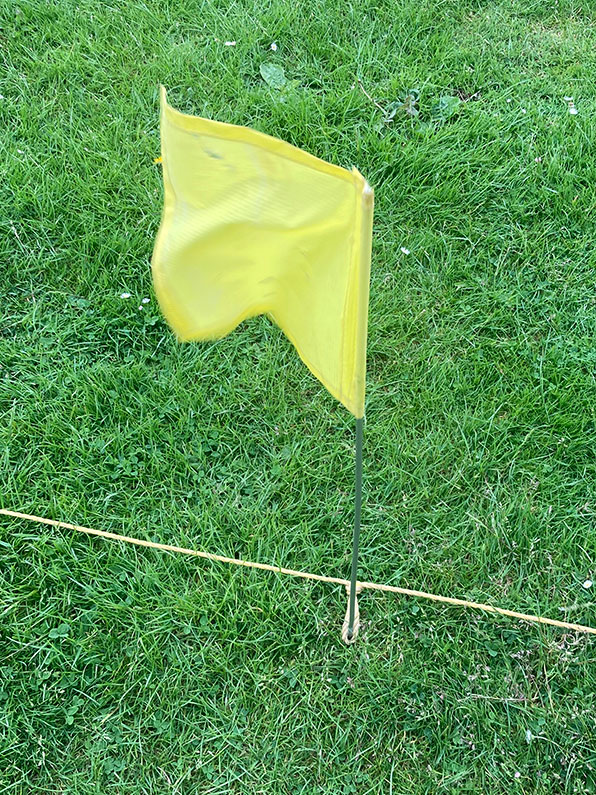
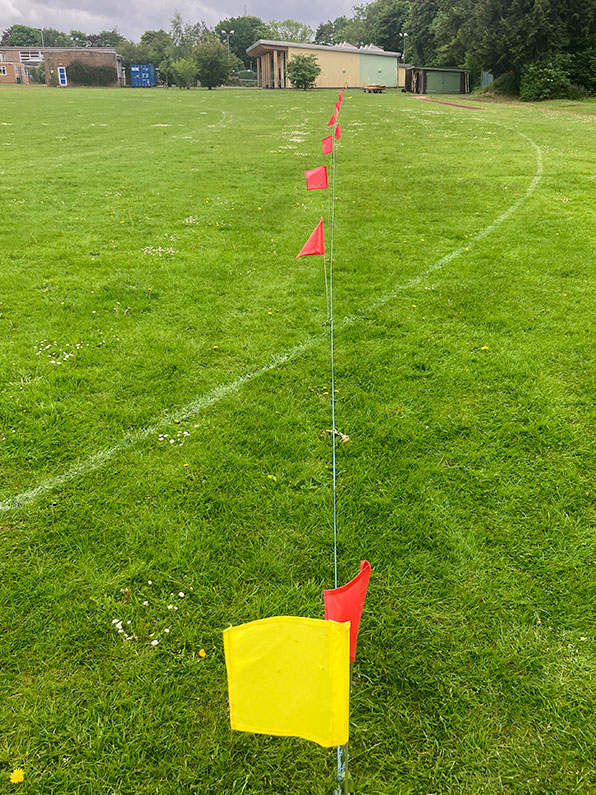
Yellow Flags are inserted into the loops of the yellow rope.
These indicate the safety zones.
Step Four – Shooting Zones
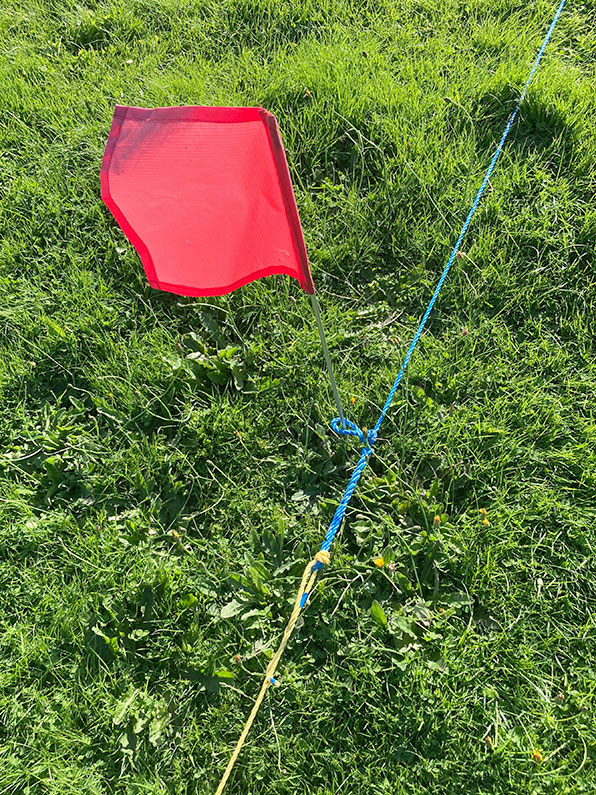
The blue shooting line rope has loops indicating each lane. These are 4 yards apart.
A Red flag should be inserted into each loop.
Yellow Flags in Yellow Loops
Red Flags in Blue Loops
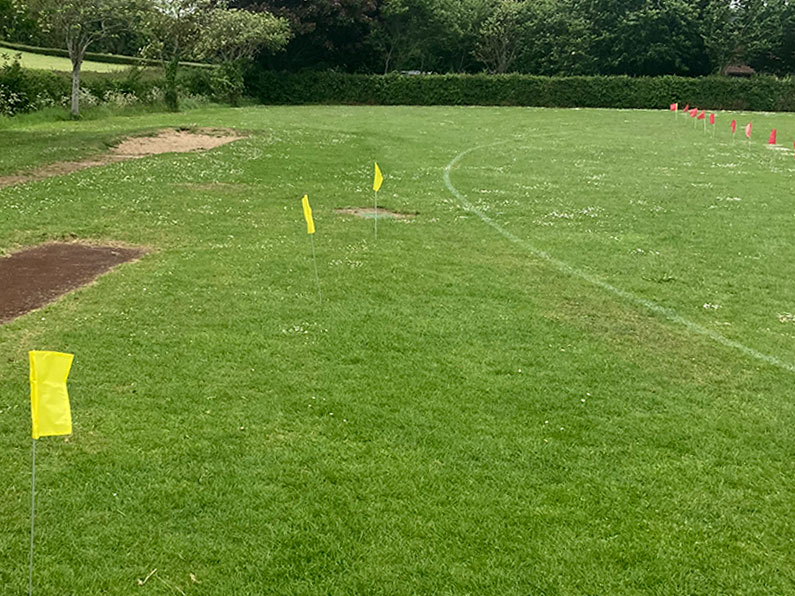
Yellow Flags Waiting Line
Step Five – Lane Centre
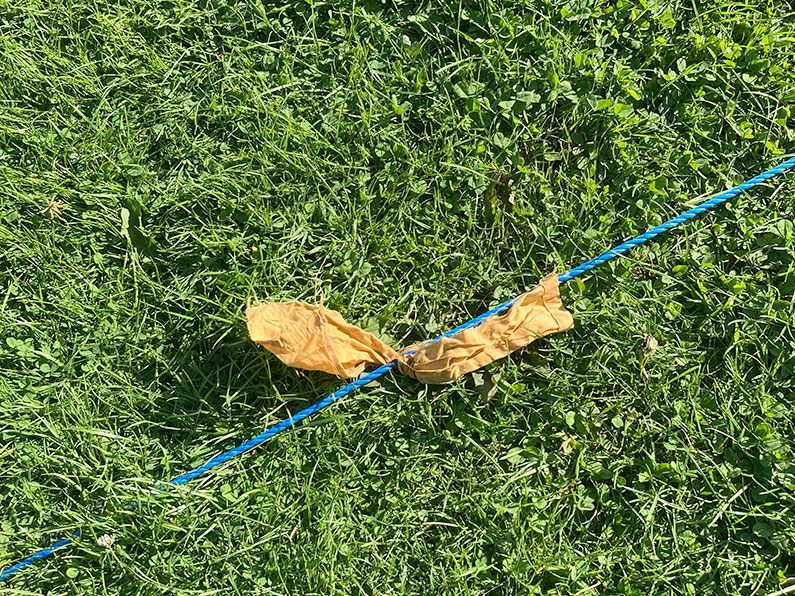
In the middle of each shooting lane is a yellow indicator. Each boss should be placed in line with this.
Step Six – Waiting Line
A waiting line of yellow flags should be position at least three yards behind the shooting line.
Step Six – Two Shooting Zones
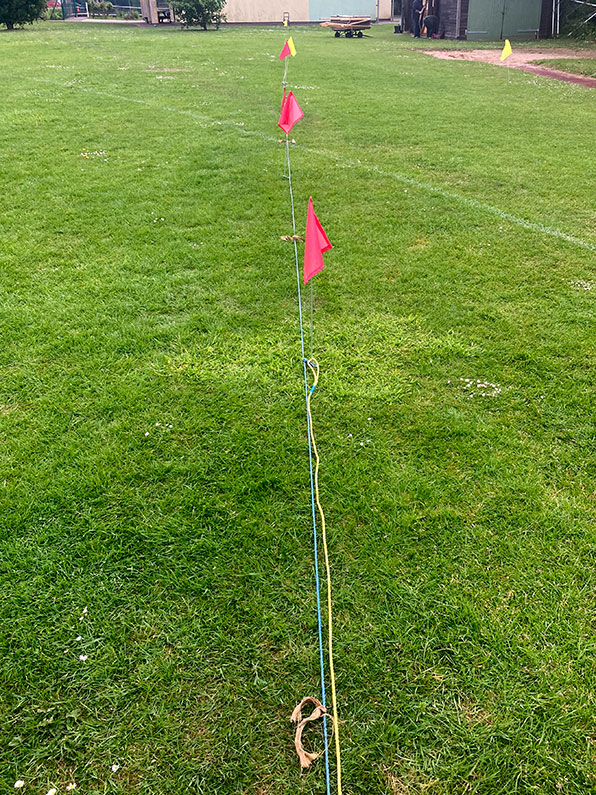
If two Shooting zones are required then a further section of yellow rope with two loops is available. This is to be placed over any five lanes to designate a central safety zone.
The Safety Zone between Shooting Lines is 20 Yards.
Each shooting zone to be controlled by its own Field Captain.
Step Seven – Packing away.
Remove the loop from the post, collect in the flags and rewind the rope onto the reel.


